
Introduction:
In the realm of Artificial Intelligence (AI), where data privacy is paramount, privateGPT emerges as a game-changer. This production-ready AI project opens the doors to seamless document interaction using Large Language Models (LLMs) without the need for an internet connection. What sets it apart is its unwavering commitment to privacy – every interaction with your documents happens exclusively within your execution environment, ensuring 100% data security.
Understanding privateGPT:
At its core, privateGPT offers an API that provides the essential building blocks for creating private, context-aware AI applications. Following and extending the OpenAI API standard, this project supports both normal and streaming responses, making it versatile for various applications.
High-Level API: Navigating the RAG Pipeline:
The API is intelligently structured into two main blocks, starting with the high-level API. This abstraction layer simplifies the intricacies of the Retrieval Augmented Generation (RAG) pipeline. Key functionalities include:
1. Ingestion of Documents:
– Seamless handling of document parsing, splitting, metadata extraction, and embedding generation internally.
– Efficient storage mechanisms ensuring optimal document management.
2. Chat & Completions:
– Abstraction of context retrieval, prompt engineering, and response generation using information from ingested documents.
– Empowering users to interact with their documents through natural language queries.
Low-Level API: Empowering Advanced Users:
For users seeking more control and customization, the low-level API offers the flexibility to implement complex pipelines. Key features include:
1. Embeddings Generation:
– Customized embedding generation based on specific pieces of text, enabling tailored AI interactions.
2. Contextual Chunks Retrieval:
– Given a query, the API retrieves the most relevant chunks of text from the ingested documents.
– Advanced users can fine-tune queries for more precise information retrieval.
Comprehensive Toolset: Beyond the API:
privateGPT doesn’t stop at just providing a robust API. It equips users with a comprehensive toolset, including:
1. Gradio UI Client:
– A user-friendly Gradio UI client facilitates easy testing of the API, ensuring a smooth user experience.
2. Utility Scripts:
– A set of useful tools, such as a bulk model download script, ingestion script, and documents folder watch, streamline workflow processes.
Installing PrivateGPT on Your Local System: A Step-by-Step Guide
Step 1: Clone the Repository
# Clone the privateGPT repository
$ git clone https://github.com/imartinez/privateGPT
$ cd privateGPT
This step involves downloading the PrivateGPT codebase from the GitHub repository and navigating to the project directory.
Step 2: Install Python 3.11
# Create a virtual environment with Python 3.11
$ conda create -n privateGPT python=3.11
$ conda activate privateGPT
This step sets up a virtual environment named `privateGPT` with Python 3.11 and activates it for the subsequent installations.
Step 3: Install Dependencies
# Install poetry and project dependencies
$ brew install poetry
$ poetry install --with ui,local
Here, Poetry is installed as a dependency manager, and it is then used to install the required project dependencies.
Step 4: Download Embedding and LLM Models
# Download embedding and language model models
$ poetry run python scripts/setup
This command downloads the necessary models, and it might take up to 4 GB of space.
Step 5: Enable GPU (For Mac with Metal GPU)
# Enable Metal GPU support
$ CMAKE_ARGS="-DLLAMA_METAL=on" pip install --force-reinstall --no-cache-dir llama-cpp-python
This step is specific to Mac with Metal GPU. It installs the necessary components for Metal GPU support.
Step 6: Run the Local Server
# Run the local server
$ PGPT_PROFILES=local make run
This command starts the PrivateGPT local server. If you’re on a Mac with Metal GPU, you should see a log indicating GPU usage.
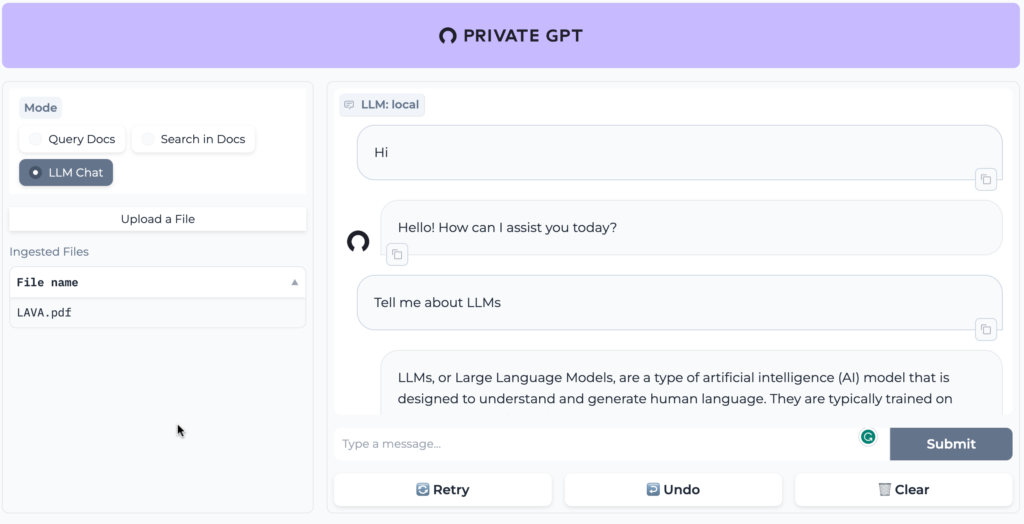
Step 7: Navigate to the UI
Open your web browser and go to http://localhost:8001/ to access the PrivateGPT UI.
These steps would help you through setting up the Retrieval-augmented generation (RAG) framework using PrivateGPT locally on a Mac, including interacting with documents in various formats.
Apply the knowledge gained from this article in your projects and let us know about your experiences.
We value your feedback. Feel free to share your thoughts, questions, or suggestions in the comments section below.
Leave a Reply